
7 Easy DIY Trunk or Treat Ideas for Your Car
A good trunk or treat display needs a theme kids can recognize, a few decorations placed where they matter, and a candy bowl that is easy to reach. You can turn a family car into a mummy, a monster or a tiny pumpkin patch without building a whole Halloween set. These seven ideas include an illustrated trunk layout, a simple setup plan and an Amazon shopping list for each theme. Start with anything you already own, then buy the pieces that make the theme recognizable.
The illustrations show suggested arrangements, rather than exact product replicas. Shopping links include specific listings and searches for supplies where size or color matters. Measure your trunk before ordering. Updated October 2026.
What Is Trunk or Treat?
At a trunk or treat event, participants decorate parked vehicles and hand out treats from the trunks. These layouts use an SUV or hatchback with a raised rear door, but the same themes can work in a sedan by putting the tallest decorations on a lightweight panel inside the trunk.
What to Gather Before Choosing Your Theme
Most of these displays use the same basic supplies. Keep them together so you don't buy a separate setup kit for every idea.
- A plain sheet or fabric backdrop to cover the cargo area.
- A candy bowl or bucket, plus extra individually wrapped treats for refills.
- Scrap cardboard, scissors, clips and cord for making and attaching lightweight decorations.
- Small boxes to support props at the back of the trunk.
- Battery lights and the right batteries if your event runs after dark.
Put the display together once at home to check the fit. Attach the exterior decorations after parking at the event, leave the hatch supports clear and keep the area in front of the car open.
1. Mummy Trunk or Treat
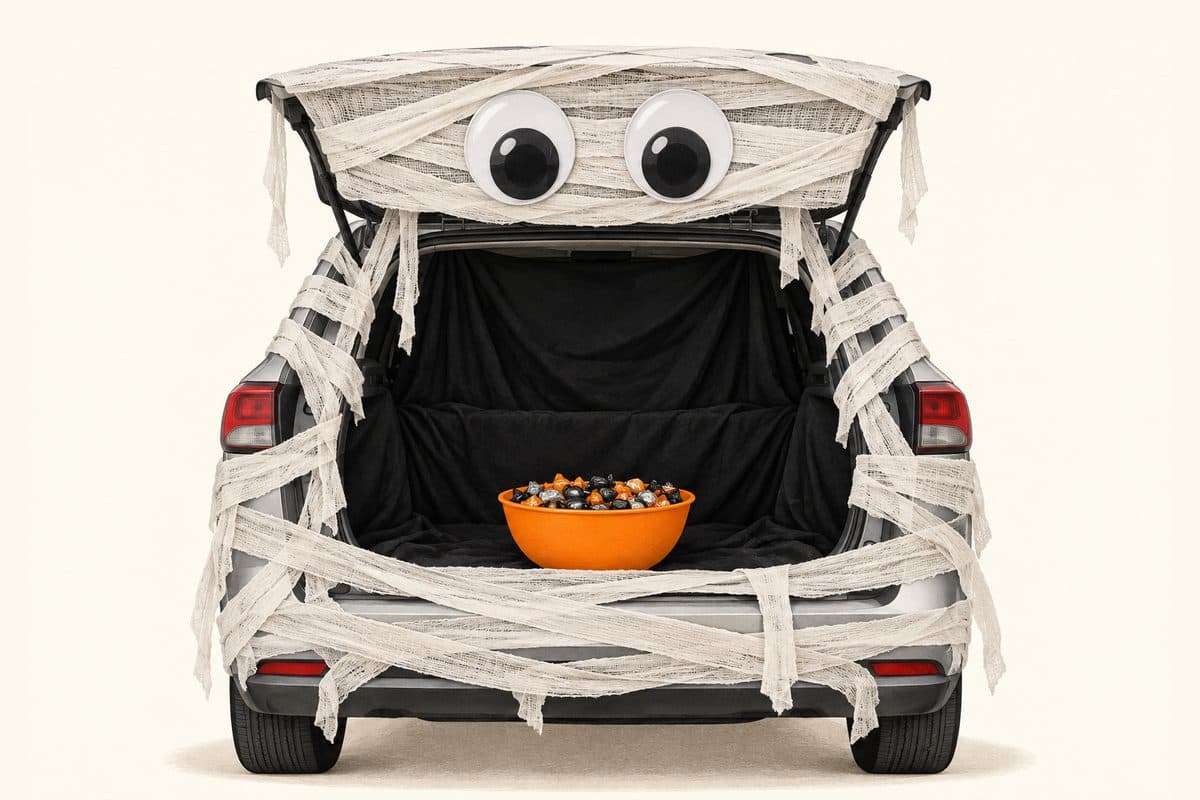
A simple DIY setup with a friendly face · Estimated hands-on setup 30 to 45 minutes
A mummy is one of the easiest trunk or treat ideas to recognize from across a parking lot. White bandages frame the hatch, two oversized eyes give it a face, and the dark trunk becomes the mummy's mouth. Keep the eyes round and cheerful for younger kids.
How to set it up: Line the cargo area with a black sheet. Cut long strips of gauze and overlap them across a lightweight cardboard panel attached inside the raised hatch, then continue the bandages around the sides. Fix the eyes to the panel rather than the car's paint. Leave the center open and set the candy bowl at the front. The loose, uneven bandages are part of the look.
What to Buy on Amazon
 Lothee mummy bandage wrapOne 10-roll pack gives you material to layer around the hatch. Wrap the cardboard panel, not the hatch supports.View on Amazon →
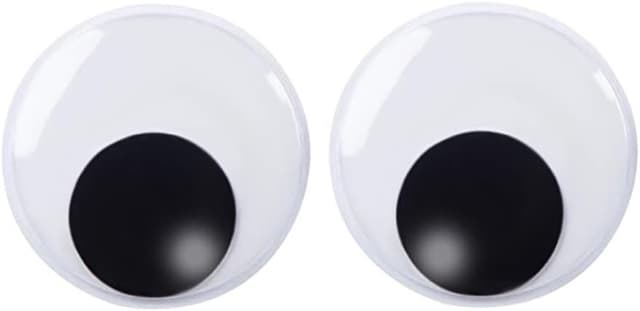 DECORA giant googly eyesOne pair of 7.5-inch eyes for the face.View on Amazon →
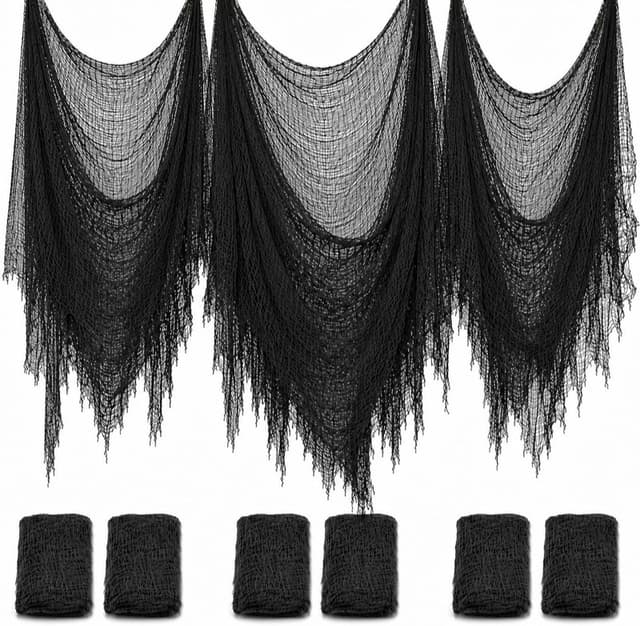 Black creepy clothOptional texture inside the trunk; a black sheet you already own works as the base.View on Amazon →
Use from home: A black sheet, scrap cardboard, a candy bowl, scissors, clips and cord.
Simple tip: For the cheapest version, make the eyes from white paper plates and black cardstock. Spend on the bandages first.
2. Zombie Graveyard Trunk or Treat
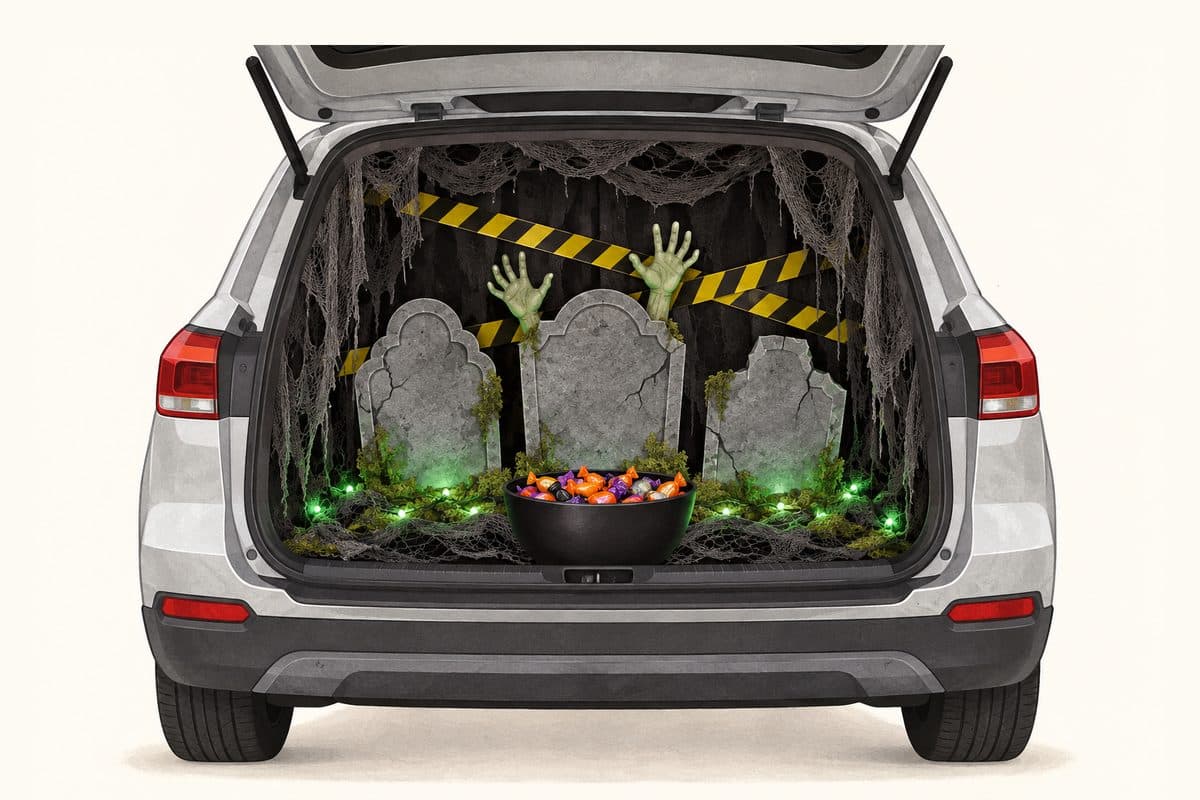
A spooky theme for older kids · Estimated hands-on setup 35 to 50 minutes
Turn the cargo area into a tiny graveyard with tombstones at the back, zombie hands reaching between them, and a green glow along the bottom. The yellow caution tape makes the theme readable without needing a huge backdrop or a full-size zombie.
How to set it up: Drape black creepy cloth over a dark sheet. Secure two or three tombstones against boxes at the back of the trunk; keep any metal stakes out of the display. Hide a groundbreaker prop behind the center tombstone so only its hands show. Put caution tape across the background and green lights along the cargo floor, with the battery pack tucked away. Keep the candy bowl in front of every prop.
What to Buy on Amazon
 Halloween tombstone setUse two or three signs from the set; support them with boxes rather than lawn stakes.View on Amazon →
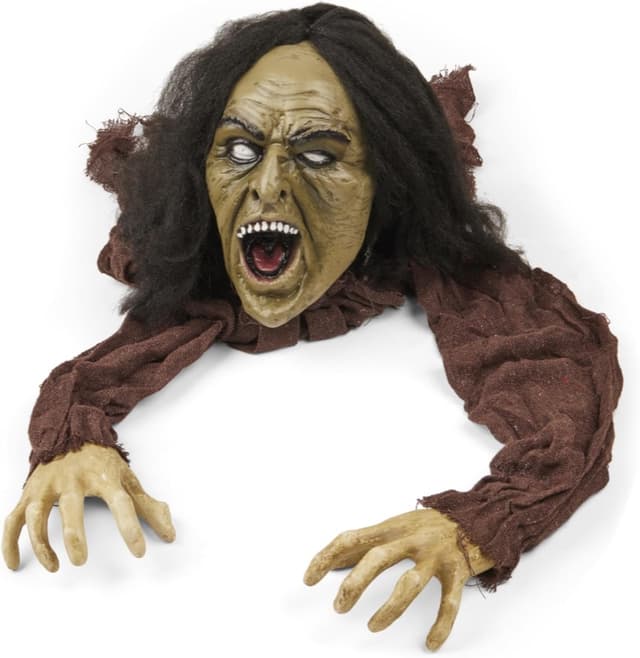 PREXTEX crawling zombie propUse the arms behind the tombstones. The full prop is more frightening than the illustrated hands.View on Amazon →Black creepy clothDrape a few pieces across the back and upper corners.View on Amazon →
 Yellow caution party tapeOne roll; use short strips on the backdrop.View on Amazon →
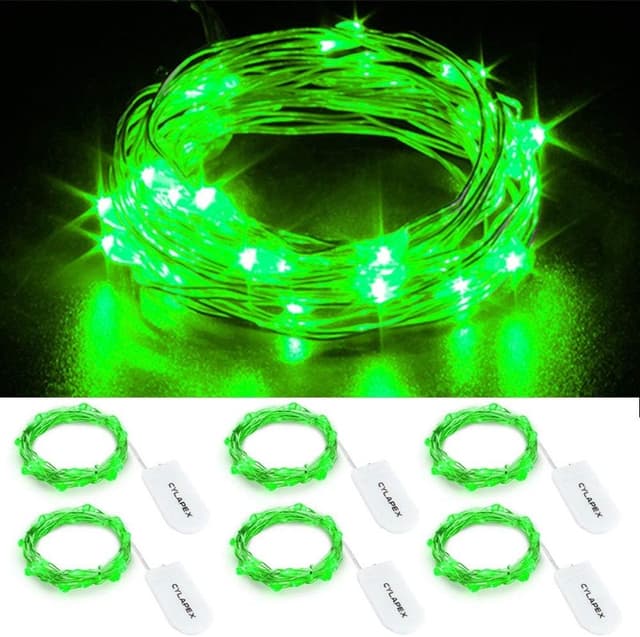 Green battery fairy lightsOptional for an evening event; keep the wires inside the trunk.View on Amazon →
Use from home: A dark sheet, small cardboard boxes, a candy bowl and clips. Green fabric scraps or artificial greenery can add the mossy detail.
Simple tip: For a younger crowd, replace the zombie prop with green hands cut from cardboard and leave out the head entirely.
3. Monster Mouth Trunk or Treat
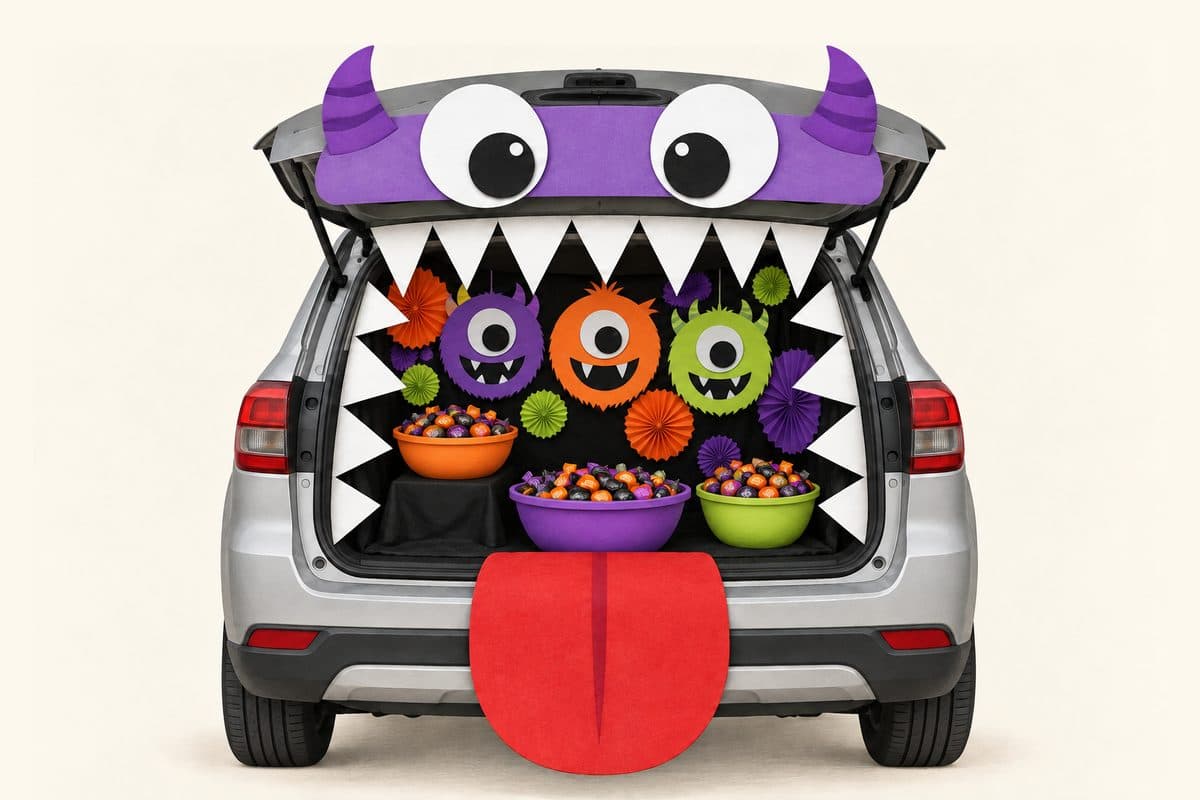
A playful theme with a colorful paper backdrop · Estimated hands-on setup 30 to 45 minutes
Your open trunk already has the shape of a giant mouth. Add eyes above it, teeth around the opening, and a red tongue over the bumper. This is an easy trunk or treat theme for a school or community event because the whole design reads as one big, silly face.
How to set it up: Start with a dark sheet inside the cargo area. Arrange the kit's eyes above the opening and space its teeth around the top and sides. Keep the tongue above the ground. For the purple version, cover a cardboard face panel with purple paper and add matching horns. Fill the back with small paper monster faces and folded paper fans. Set three candy bowls along the front, raising one on a low covered box.
What to Buy on Amazon
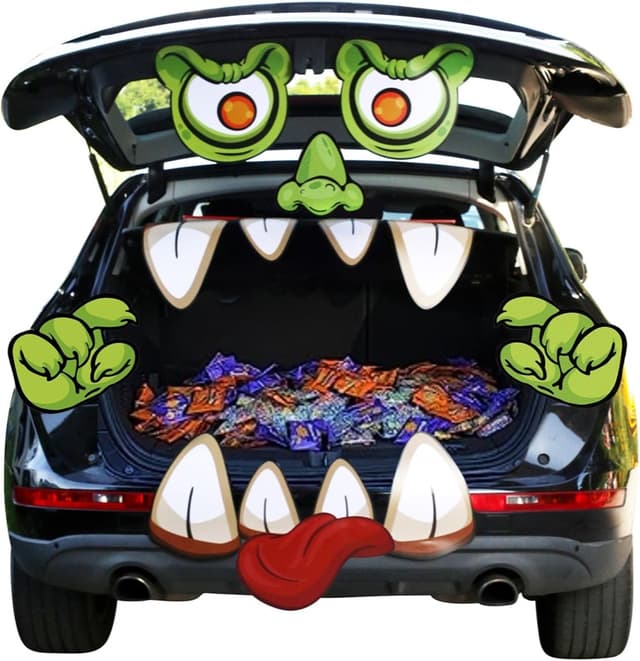 PARTYLOUD monster trunk decoration kitThe listing includes eyes, teeth and a tongue. Its printed design differs from the illustrated purple face.View on Amazon →
 Purple cardstock or craft paperOptional for the purple face panel and DIY horns.View on Amazon →
Use from home: A black sheet, three candy bowls, a small box, scrap cardboard and colored paper, scissors, clips and cord.
Simple tip: Make your own teeth from white cardboard if you already have large googly eyes. Vary the triangle sizes for a funnier expression.
4. Witch Potion Shop Trunk or Treat
A colorful Halloween scene with a candy cauldron · Estimated hands-on setup 35 to 50 minutes
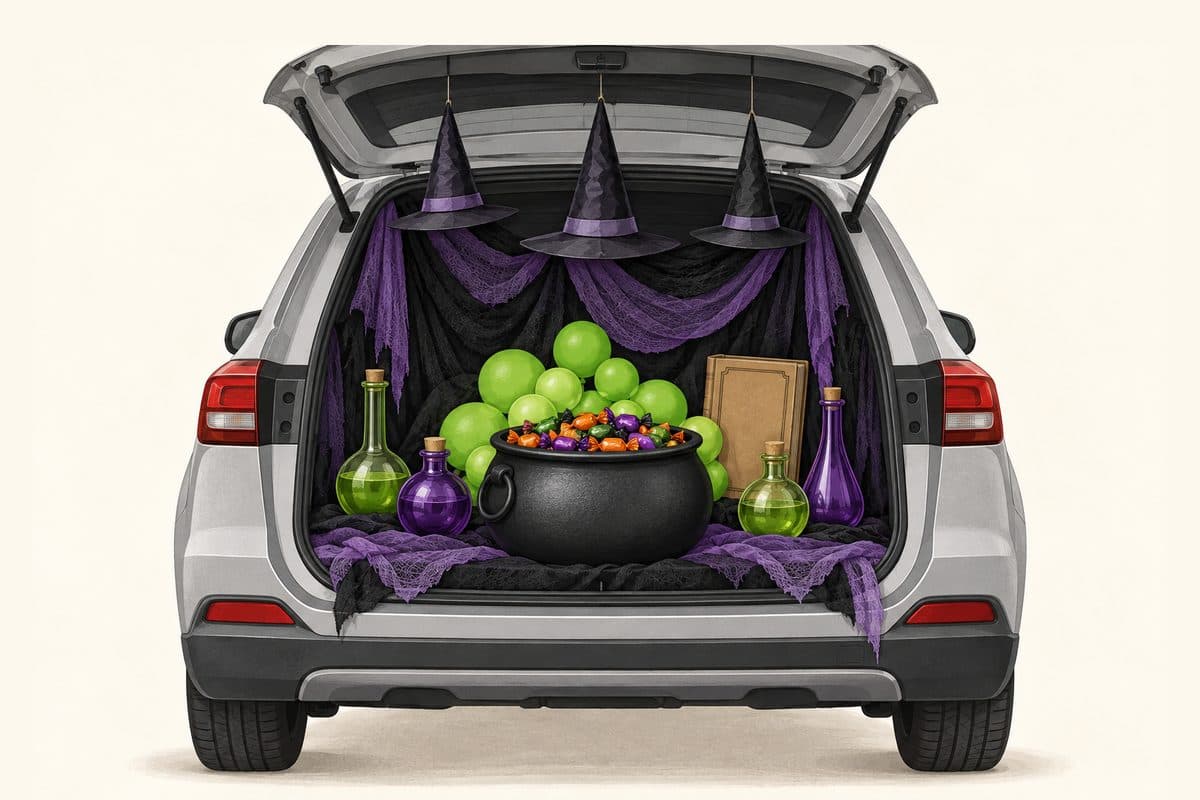
A black cauldron makes the perfect centerpiece for a witch-themed trunk. Purple fabric, hanging hats and a few green balloon bubbles turn it into a little potion shop. You can get the bubbling effect with ordinary decorations and keep the actual candy easy to reach.
How to set it up: Drape the back and sides with black and purple fabric. Hang two or three lightweight witch hats from a cord secured inside the raised hatch. Put the largest cauldron at the front and tie a small cluster of green balloons behind it, separate from the treats. Add empty plastic bottles at the sides and cover an old book with kraft paper to make a spell book.
What to Buy on Amazon
 Black plastic cauldron setUse the largest bowl from the set for wrapped candy.View on Amazon →
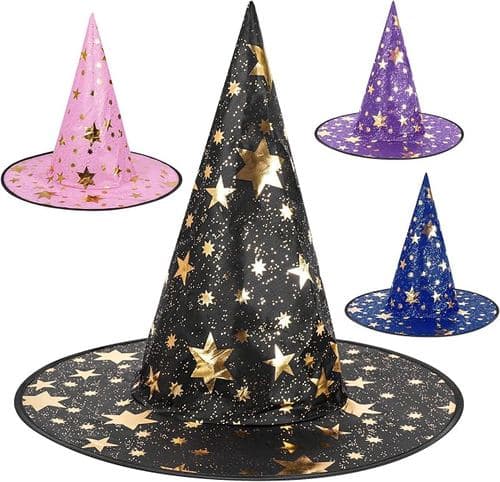 Witch hat setHang two or three hats above the display; the listed hats have a decorative star print.View on Amazon →
 Lime green balloonsUse a small cluster at different inflated sizes behind the cauldron.View on Amazon →
 Purple creepy clothOptional; a purple scarf or fabric offcut works too.View on Amazon →
Use from home: Black fabric, empty plastic bottles, an old book, kraft paper, cord and clips.
Simple tip: Keep the balloons and decorative bottles behind the candy. A cluster of green tissue-paper balls can replace the balloons.
5. Spider Lair Trunk or Treat
A dramatic display built around two main purchases · Estimated hands-on setup 25 to 40 minutes
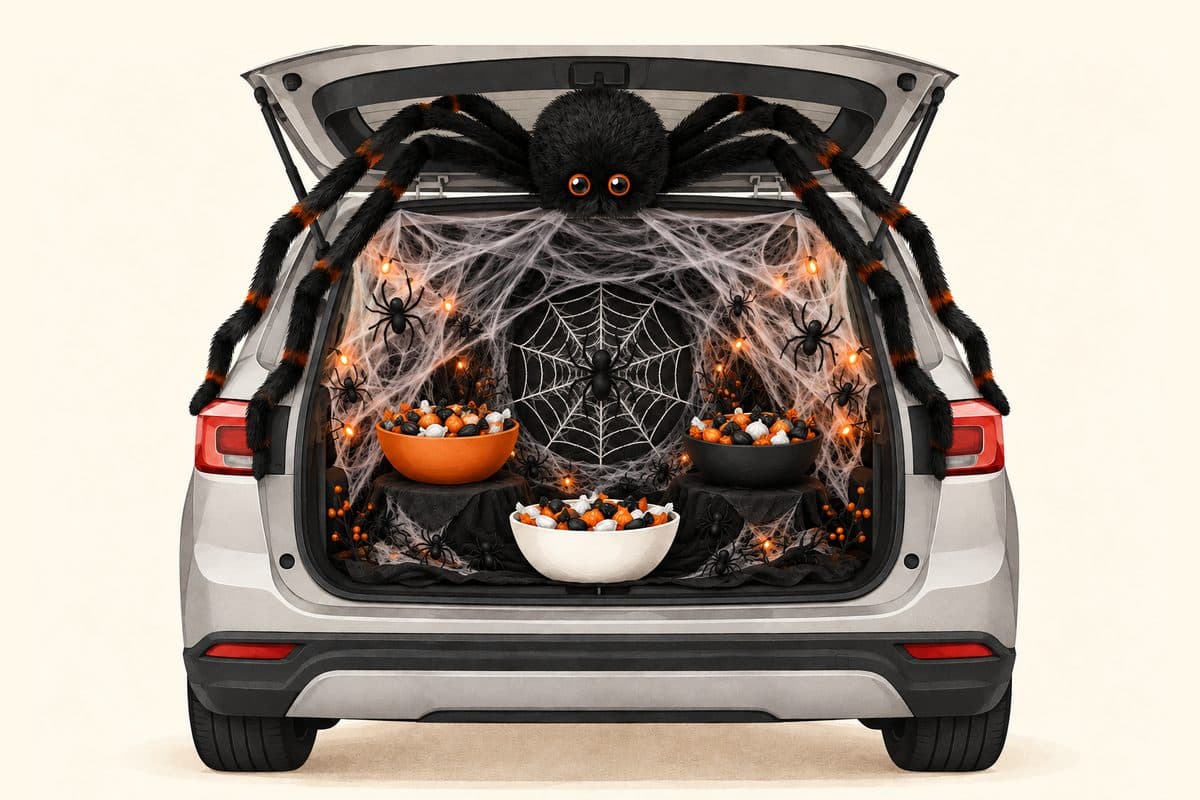
One oversized spider does most of the decorating here. Its legs follow the trunk frame while white webs fill the upper corners. A circular yarn web adds a focal point at the back, and three full candy bowls make the display feel generous without crowding the front.
How to set it up: Secure a lightweight spider inside the raised hatch with cord and bend its legs down the sides. Stretch web material thinly over a black backdrop and through the upper corners. Add a round yarn web to a black cardboard panel at the back, with a plastic spider in the center. Put two candy bowls on low covered boxes and a third at the front. Keep webs away from the treats; tuck battery lights behind the display for an evening event.
What to Buy on Amazon
 JOYIN giant black spiderThe listing is a 5-foot spider. Check the leg span against your hatch and fold the legs to suit the frame.View on Amazon →
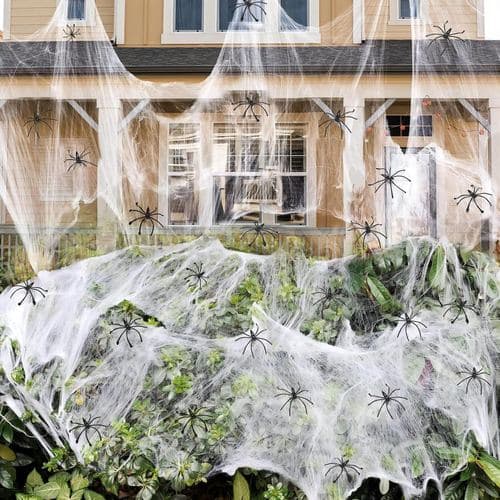 Stretchy spider webs with small spidersOne pack is ample for the trunk; use only a small amount and stretch it thin.View on Amazon →
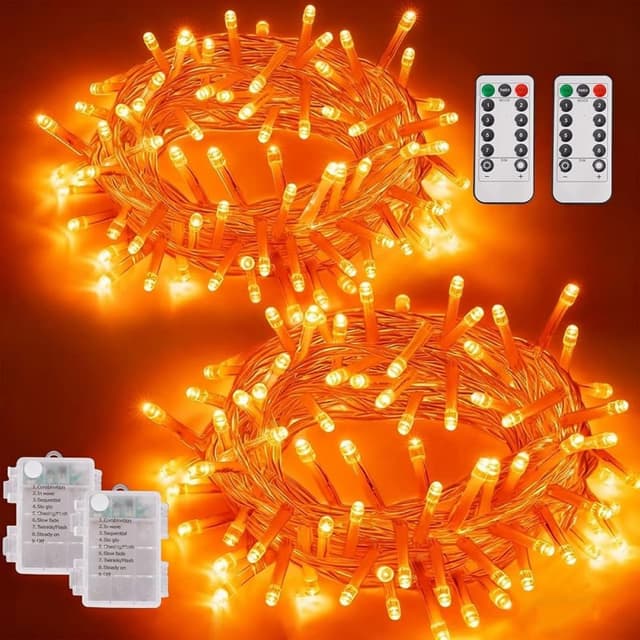 Orange battery string lightsOptional for the warm glow shown in the illustration.View on Amazon →
Use from home: A black sheet, three candy bowls, two small boxes, black cardboard, white yarn or cord, and clips.
Simple tip: Thin, uneven webs look better than one thick white blanket. Put the extra material aside for another Halloween decoration.
6. Pirate Treasure Trunk or Treat
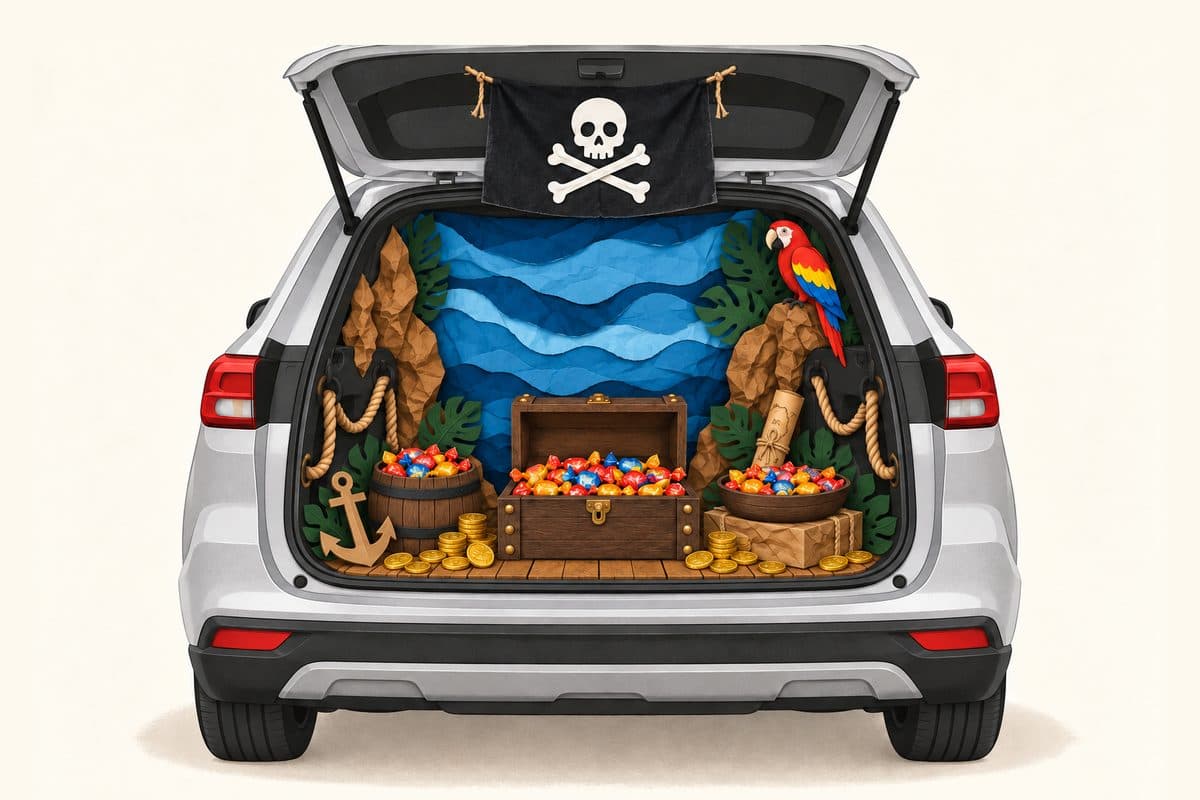
A playful theme that reuses toys and party supplies · Estimated hands-on setup 35 to 50 minutes
A chest full of wrapped candy becomes pirate treasure, with a skull flag above it and a blue sea behind. This is a useful non-scary trunk or treat idea if your children already have pirate toys, a costume or leftover birthday decorations.
How to set it up: Cover the back with blue fabric or layered blue paper. Draw plank lines on kraft paper for the floor. Fold the pirate flag around a cardboard panel so the skull fits above the opening. Place the treasure chest at the front and add two candy bowls beside it. Give one a barrel look with brown paper and raise the other on a low covered box. Keep plastic coins separate from the treats. A cardboard anchor, rolled paper map and toy parrot finish the scene.
What to Buy on Amazon
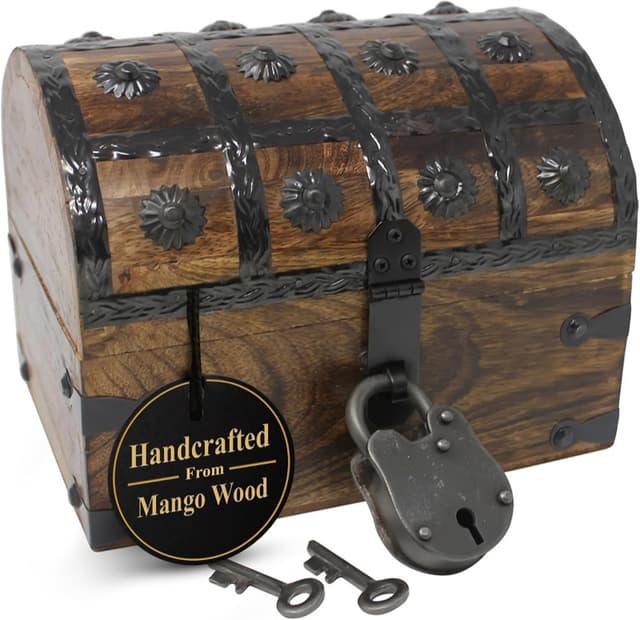 Nautical Cove small wooden treasure chestThe listed chest measures 8 by 6 by 6 inches. Use a liner for the wrapped treats and refill it as needed.View on Amazon →
 ANLEY Jolly Roger flagThis is a 3-by-5-foot flag; fold the edges around a panel instead of hanging it at full size.View on Amazon →
 JOYIN plastic gold coinsUse a handful as decoration beside the candy, not mixed into it.View on Amazon →
 Jute craft ropeOptional trim for the side panels.View on Amazon →
Use from home: Blue fabric or paper, cardboard, kraft paper, two candy bowls, a small box, a homemade map and any pirate toys you already have.
Simple tip: A painted shoebox works as the treasure chest. Spend on the flag only if you don't want to make a skull-and-crossbones panel yourself.
7. Pumpkin Patch Trunk or Treat
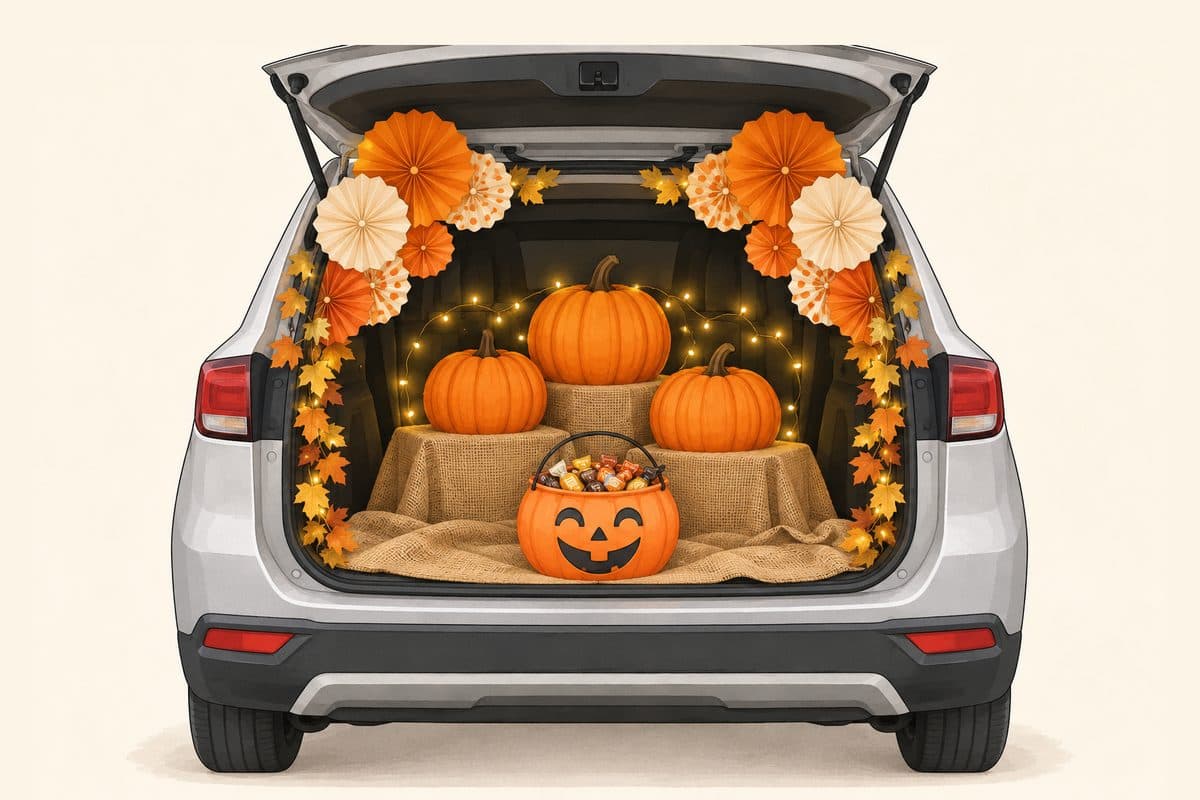
A gentle theme for preschool and family events · Estimated hands-on setup 25 to 40 minutes
A pumpkin patch keeps the Halloween mood warm and cheerful. Group a few pumpkins at different heights, frame them with autumn leaves and paper fans, and put a smiling pumpkin bucket at the front. It is also a good way to reuse fall decorations from your porch.
How to set it up: Cover two sturdy boxes with burlap or a neutral blanket and place them at the back of the trunk. Arrange three pumpkins on the boxes, then attach paper fans in small clusters along the upper sides. Clip the leaf garland around the frame and put the candy bucket at the front. If you have battery fairy lights, weave them behind the pumpkins with the battery pack easy to reach.
What to Buy on Amazon
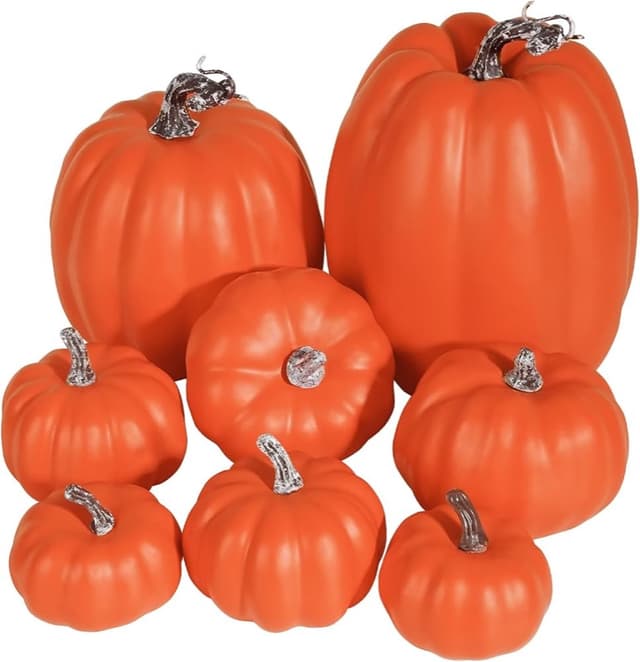 Medium or large artificial pumpkinsChoose roughly 6-to-8-inch pumpkins; three are enough for this layout.View on Amazon →
 Fall maple leaf garlandUse the two strands to frame the sides of the trunk.View on Amazon →
 Orange and cream paper fan decorationsChoose a small mixed-size set for the upper corners.View on Amazon →
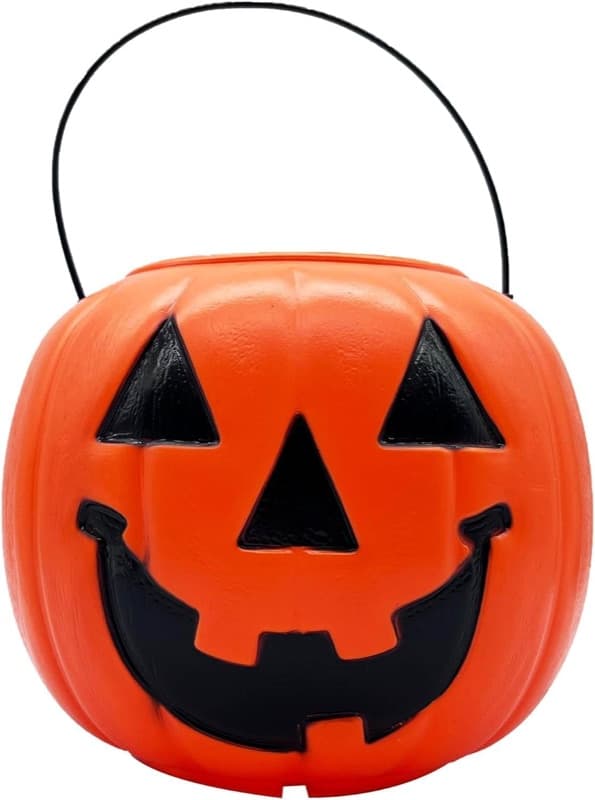 Pumpkin candy bucketOptional if you already own a Halloween bucket or bowl.View on Amazon →
Use from home: Sturdy boxes, a neutral blanket or burlap, clips and any battery fairy lights you already have. Real pumpkins can replace artificial ones.
Simple tip: Skip loose straw and hay. A textured blanket gives you the pumpkin-patch look and makes cleanup much easier.
A Simple Trunk or Treat Planning Checklist
- Choose one theme and check the event's rules about spooky props, treats and giveaways.
- Measure the open trunk and check the sizes of your main props.
- Order the two or three decorations that establish the theme first; add optional details only if you need them.
- Prepare cardboard pieces and test lights at home.
- At the event, park and turn the car off before attaching decorations. Keep the candy accessible and refills out of sight.
Trunk or Treat Questions
What is the easiest trunk or treat idea?
A friendly monster mouth is a straightforward choice because the open trunk is already the main shape. A ready-made kit adds the eyes and teeth. A mummy is another simple option if you prefer to make the decorations yourself.
How can I decorate a trunk on a budget?
Use a sheet for the backdrop, cardboard for large shapes and a bowl you already own. A mummy made with white strips and paper-plate eyes, or a pumpkin patch built from existing fall decorations, keeps the shopping list short.
Can these ideas work with a sedan?
Yes. Use a smaller cardboard backdrop inside the cargo area and attach the main character features to it. Reduce the height and number of props so the candy stays visible and the trunk lid opens normally.
Which trunk or treat themes are suitable for younger children?
Choose the pumpkin patch, friendly mummy, silly monster or pirate treasure theme. Keep faces cheerful and use still decorations. Save realistic zombie props for an event aimed at older children.
Hosting a party too? See our Halloween party ideas for decorations, food, games and a planning checklist.
Keep your Halloween shopping in one place
Planning the trunk with family or friends? Add the decorations, candy and supplies to a free Onelist, then share it so everyone knows what to bring — Amazon and other stores together.
Create a free wishlistHow a wishlist from any store worksYou Might Also Like
Need help? support@onelist.gifts
As an Amazon Associate, Onelist earns from qualifying purchases made through links on this page.